Naderi Production
2 HANNERT DE KLEPPBEEM
L-6995 RAMELDANGE

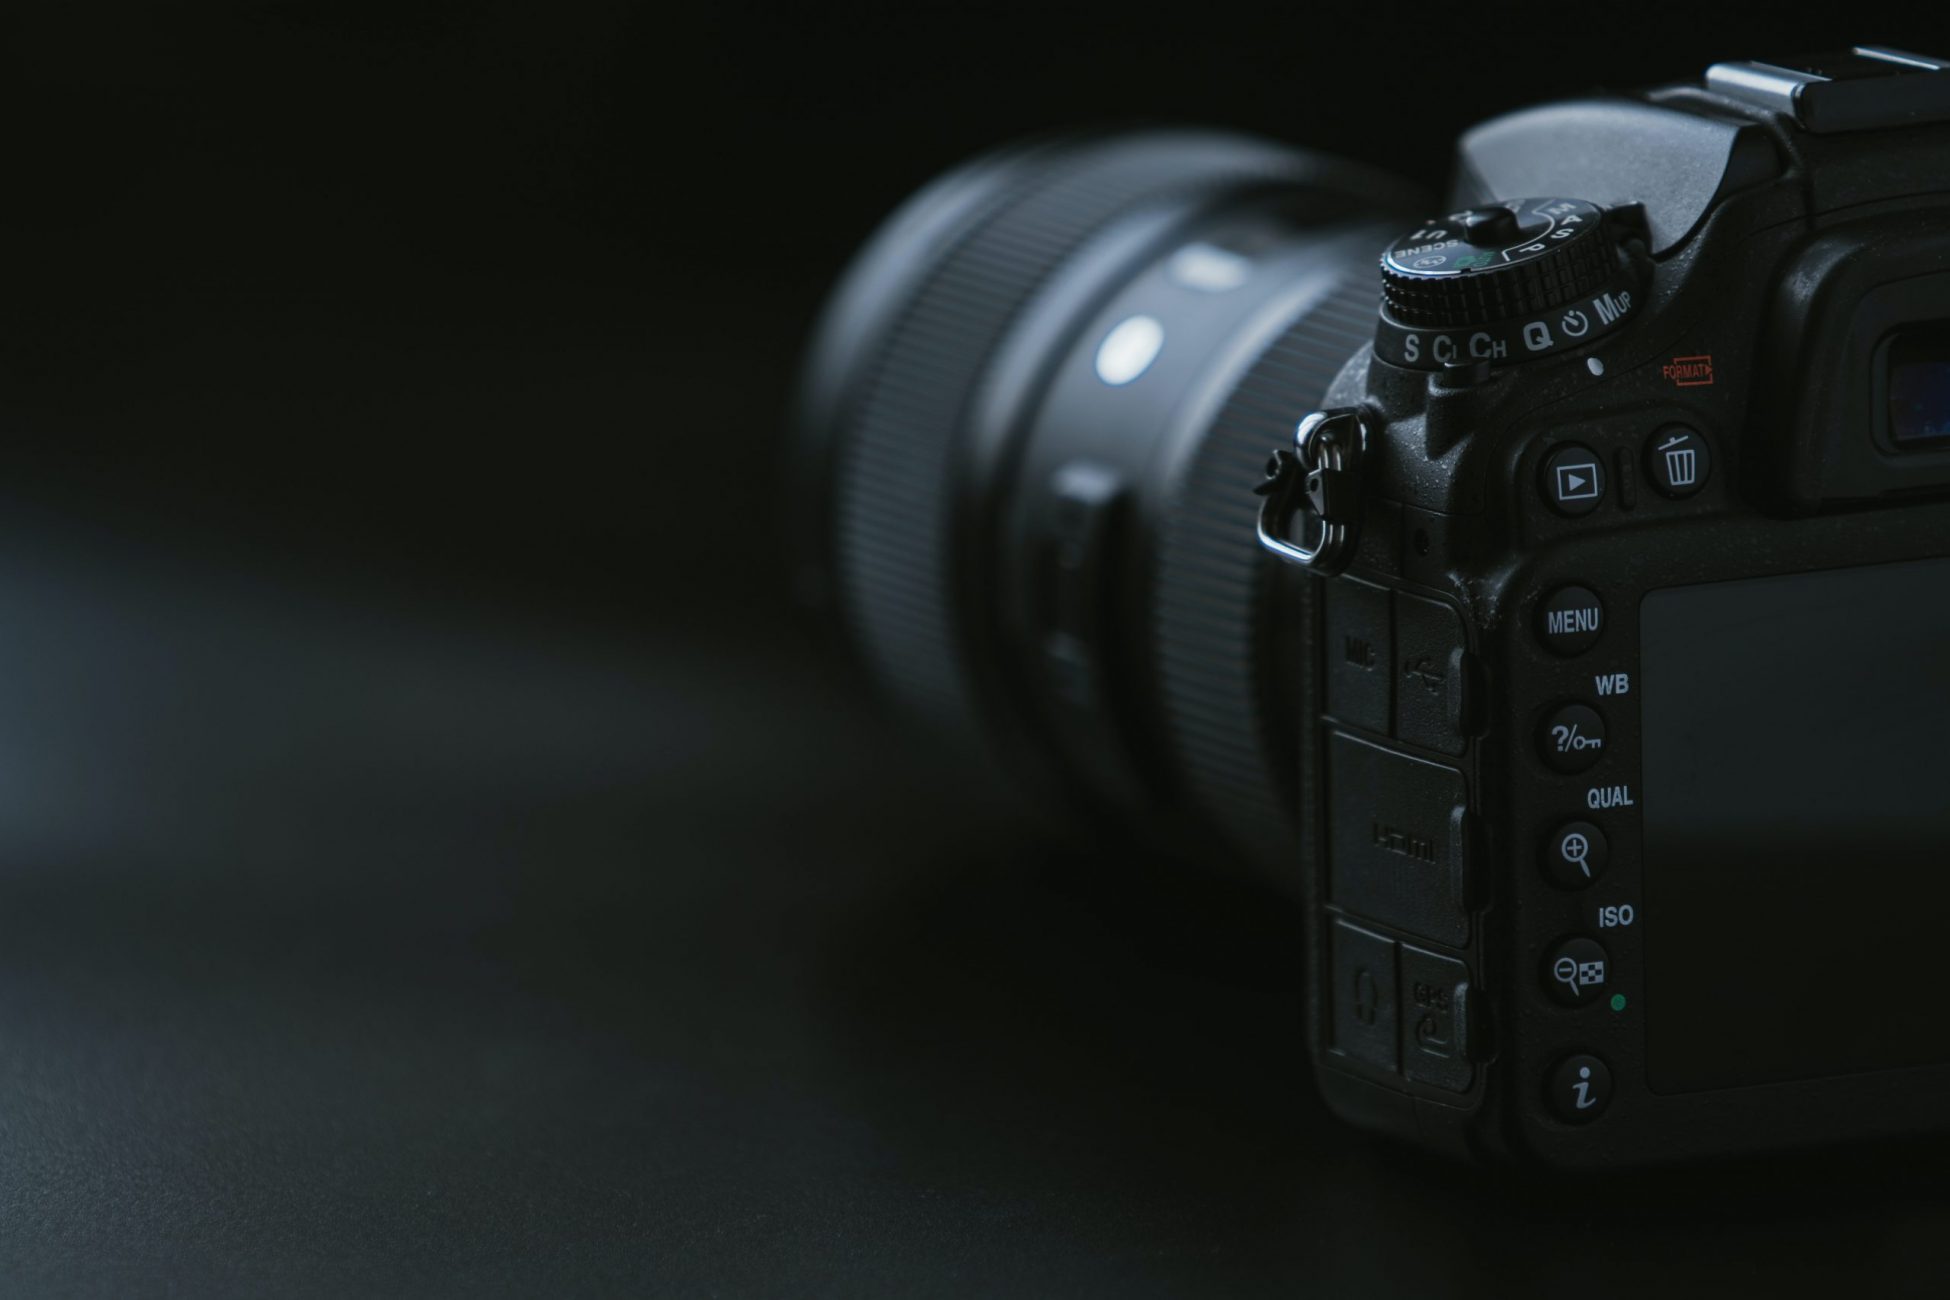
Many beginner photographers often wonder what common camera settings they should use to get the best possible results with their current camera gear. While there is no set rule for camera settings that work well in every shooting environment, I noticed that there are some settings that I personally set on every camera I use, which are universal across all brands of cameras on the market. Here is a full common camera settings for beginners!
These are the “base” settings I set initially – once they are done, I rarely ever revisit them. In addition, there are particular camera modes that make the process of capturing images easier or quicker, especially for someone who is just starting out. Let’s go through these common camera settings in more detail!
First, let’s go over some of the camera settings that should apply to any modern digital camera. You should be able to find all the settings specified below, since they are more or less universal across different camera brands and models:
While some photographers argue that it is best to always shoot in Manual Mode to have full control over your camera, I would strongly disagree with that. Considering how amazing modern cameras have gotten when it comes to properly metering a scene and exposing a subject, there is very little reason to actually shoot in Manual Mode, so why not use one of the semi-automated camera modes instead?
You should always make sure that you are shooting in the best autofocus mode depending on what you are photographing. For example, if you photograph a still subject, you might want to use Single Area Focus Mode (also known as “Single Area AF”, “One Shot AF” or simply “AF-S”), whereas if the subject you are photographing is continuously moving, you would want to switch to Continuous / AI Servo Focus Mode, since you would probably want your camera to actively track your subject.
Lastly, don’t forget to take advantage of image stabilization (also known as SteadyShot, Vibration Reduction or Vibration Compensation) that is offered either by your camera (in-body image stabilization) or your lens. Don’t forget to turn it on when shooting hand-held and turn it off when shooting from a stable tripod. Also, it is always a good idea to half-press the shutter release for a few seconds and let your camera or lens stabilize first, before taking a picture. This will reduce the potential for having blurry images.
If you have any questions or feedback, please post your comments in the comments section below.