


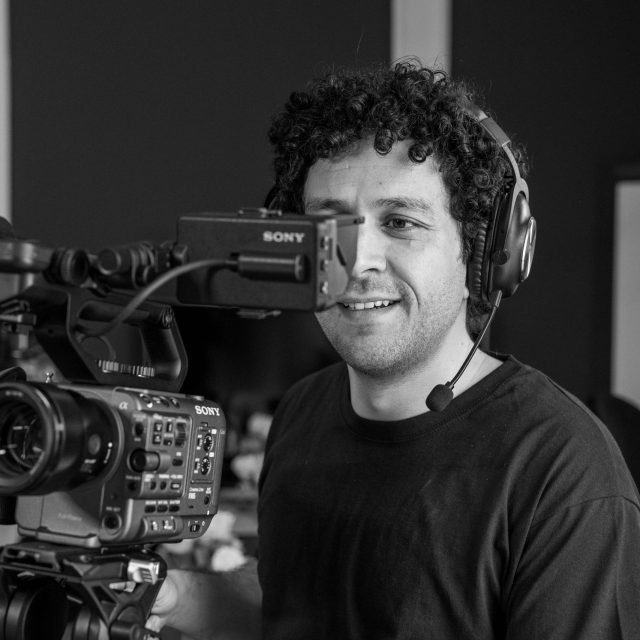

Naderi Production
2 HANNERT DE KLEPPBEEM
L-6995 RAMELDANGE


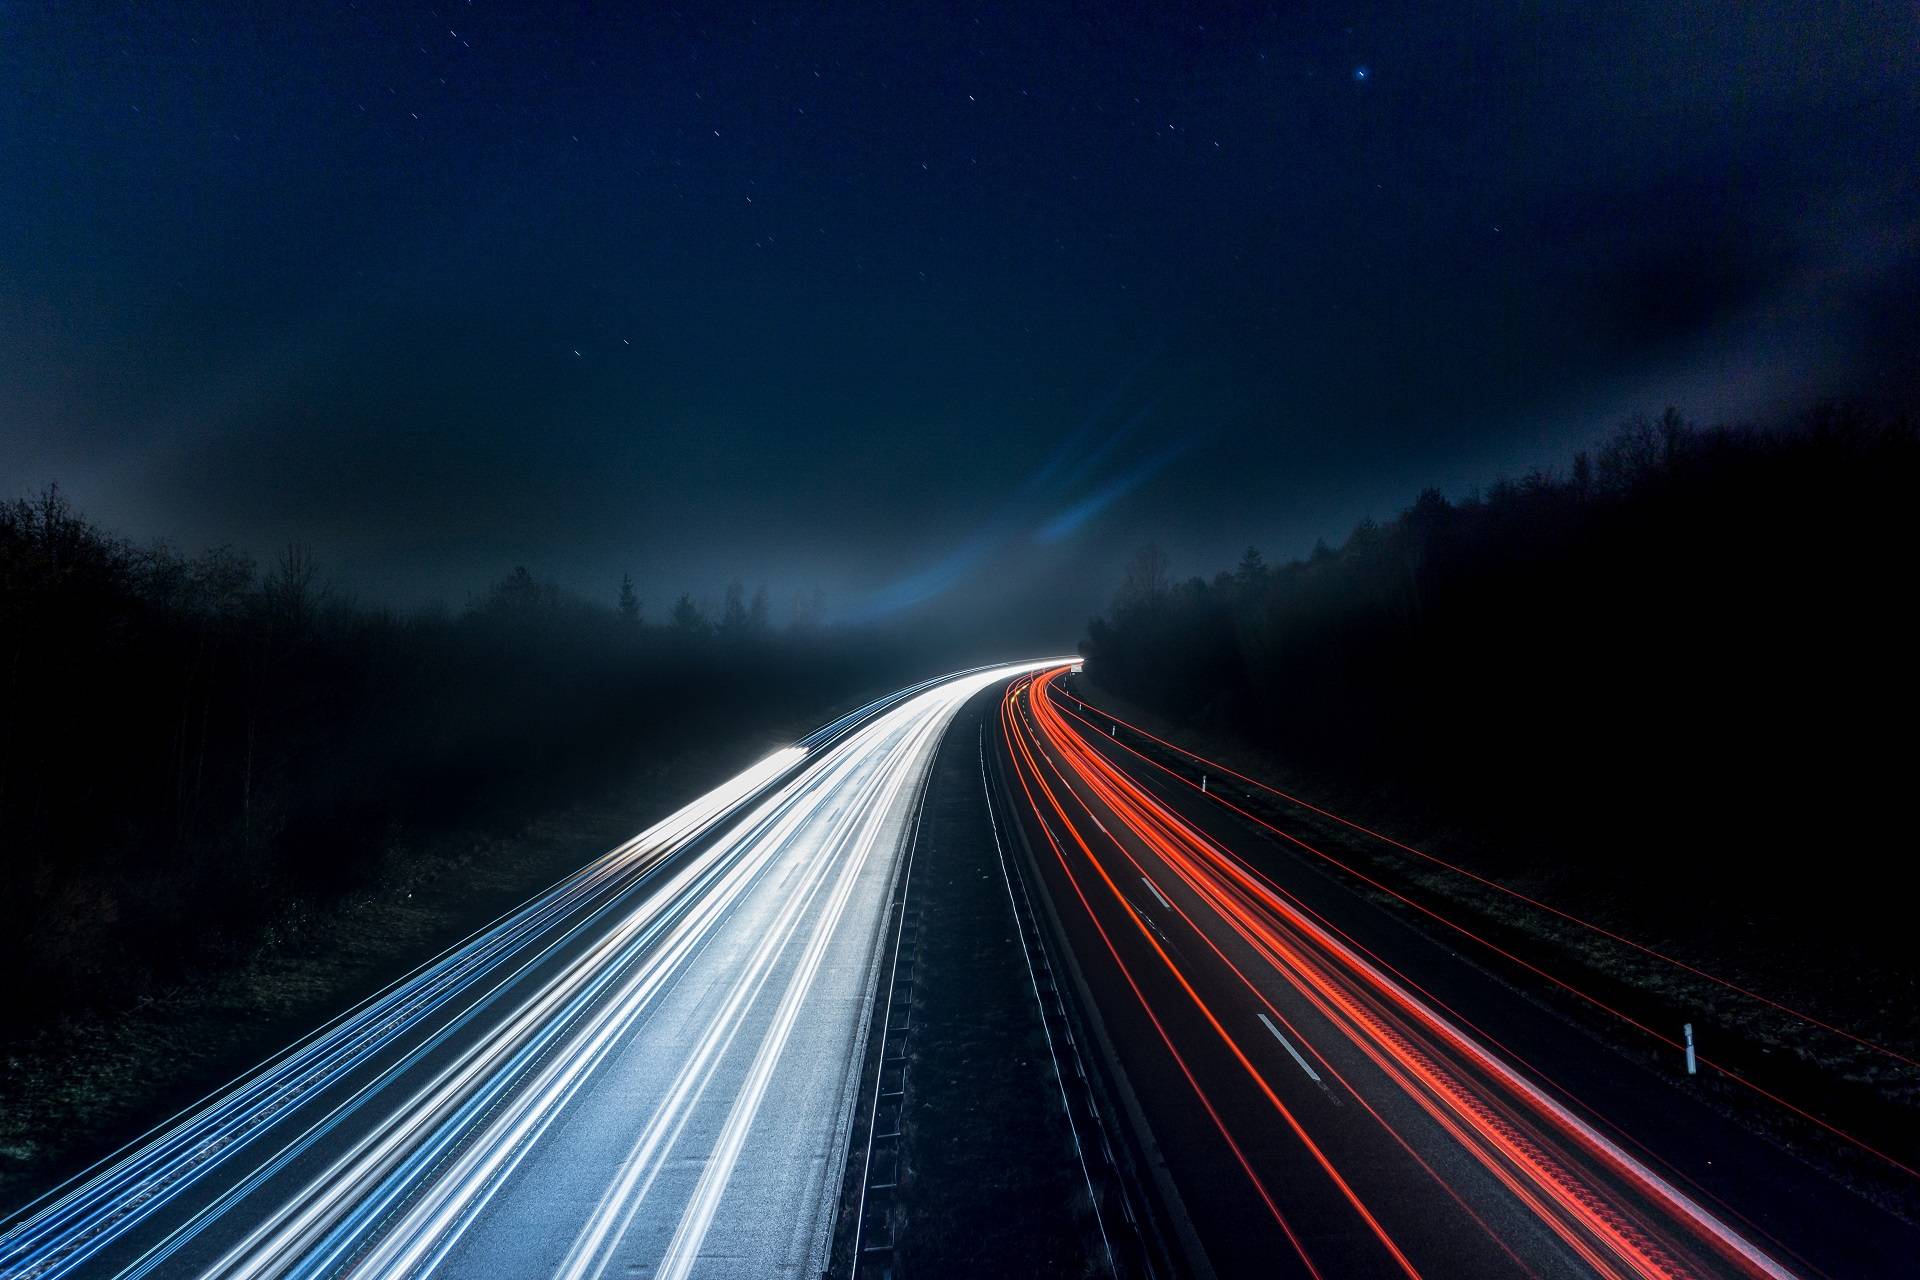
In this article, I’ll share the basics on how to film a time-lapse video, no matter whether you’re a beginner or an experienced photographer. Time lapses are a very popular type of cinematography in which the frequency of the captured frames is much slower than the final video play speed.
To understand better this technique and to get a better idea of the whole process, let’s start by analyzing the basic structure of a moving picture, better known as video.
Every video you watch, from your smartphone to a movie in the cinema, consists of individual frames captured and displayed at a specific frequency. The frequency of capturing and/or displaying those frames is called frame rate. It’s usually measured in frames per second (FPS), with the most common frame rates being approximately 24, 25, 30, 60, and 120 FPS.
In an ordinary video, the capture and display rates are the same. For example, you may film a video at 24 frames per second and then play it back at 24 frames per second. This gives the illusion of motion in the final video clip. 24 FPS specifically is often referred to as “cinematic” and is used on movies, while 30 FPS is more common in home videos and YouTube clips. Many video games are displayed at 60 FPS and higher.
Your chosen interval is how often the camera will start a new exposure. For example, if you choose an interval of five seconds, the camera will begin a new exposure every five seconds.
This is fine in theory, but it can cause problems if your camera’s exposure time (AKA shutter speed) is longer than your interval. For example, if your interval is five seconds but your exposure time is six seconds, you will end up skipping frames and could get a jittery time-lapse.
Time-lapse videos are about documenting the passage of time in a specific place. So, it’s best if some type of interesting motion is captured in the video, either of the subject itself or of its surroundings.
Some examples include:
The subjects can literally be unlimited. Just let your imagination take over.
After you’ve filmed it, your work isn’t quite done. You still need to edit the timelapse in video processing software. Later, I will write more specifically about that topic to explain some basic timelapse editing techniques.
Now that you know how to figure out the number and interval of photos to shoot, it’s time to proceed with the required gear. There are just three things you’ll need:
Time-lapse photography is a very interesting technique, and if everything goes well, it will amaze you with the results. It might be a little challenging in the beginning, but hopefully the tips in this article give you a good place to start. Preparation and practice are key, so go out and try some timelapses as soon as possible.
If you have any questions or feedback, please post your comments in the comments section below.
Naderi Production
2 HANNERT DE KLEPPBEEM
L-6995 RAMELDANGE